Every home baker dreams of making those magical Disney theme park cookies. The secret? It’s all about precision with metric measurements. With just a few carefully measured ingredients and professional techniques, your chocolate chip cookies can go from ordinary to extraordinary.
Baking is both an art and a science. The Disney chocolate chip cookie recipe isn’t just about throwing ingredients together. It’s about understanding how each component works together. Using metric measurements ensures consistent, delicious results that capture the essence of those beloved Disney park treats.
Whether you’re new to baking or have years of experience, this guide will help you make bakery-quality chocolate chip cookies. They’ll taste like they were made right in a Disney kitchen.
Table of Contents
Understanding the Magic of Disney’s Cookie Recipe
Disney-inspired cookies have won the hearts of many for years. They add a magical touch to baking. These treats are more than just snacks; they are a tradition that brings joy to all who taste them.
The story of Disney’s famous cookies is full of innovation and detail. Let’s dive into what makes them so special:
The History Behind Disney Park Cookies
Walt Disney’s focus on quality is seen in their food as much as their entertainment. The chocolate chip cookie recipe has been perfected over the years. It’s now a favorite in Disney parks around the world.
- Originated in early Disney park kitchens
- Developed through years of taste testing
- Perfected to meet strict Disney quality standards
What Makes These Cookies Special
Disney’s cookies are loved for several reasons:
- Consistently large size
- Perfect texture balance
- High-quality ingredient selection
“A great cookie is like a little piece of happiness you can hold in your hand.” – Disney Pastry Chef
The Importance of Metric Measurements
Getting the recipe right is crucial for these magical cookies. Using metric measurements ensures the ingredients are mixed just right. This affects the cookie’s taste, texture, and quality.
By using metric measurements, you can make Disney’s famous cookies at home. Professional bakers know that precise measurements are key to baking the perfect cookie.
Essential Kitchen Tools and Equipment for Perfect Baking
To make Disney-style chocolate chip cookies, you need more than just good ingredients. The right baking tools can turn your kitchen into a magical place. When using metric baking conversions, having precise tools is essential.
Your baking equipment toolkit should include:
- Digital Kitchen Scale: The most important tool for accurate metric measurements
- Metric-marked measuring cups and spoons
- High-quality stand mixer or hand mixer
- Non-stick baking sheets
- Parchment paper or silicone baking mats
- Oven thermometer for precise temperature control
“Baking is a science, and the right equipment is your laboratory tools.” – Professional Baker’s Wisdom
When picking baking equipment, look for tools that support metric baking conversions. A digital kitchen scale lets you weigh ingredients exactly. This avoids measurement errors that could change your cookie’s texture and taste.
Professional bakers know that using the same tools every time is key. Invest in top-notch equipment for accurate measurements and even heat. This way, you’ll get perfect Disney-inspired cookies every time.
disney chocolate chip cookie recipe metric measurements
Precision is key to making magical Disney-inspired chocolate chip cookies. Knowing how to convert measurements can make your cookies truly special.
Converting US Measurements to Metric
Getting the measurements right is essential for perfect cookies. Here are some tips to help you:
- 1 cup of flour = 125 grams
- 1 stick of butter = 113 grams
- 1 teaspoon = 5 milliliters
- 1 tablespoon = 15 milliliters
Weight vs. Volume Guidelines
Professional bakers prefer weight measurements for better accuracy. Using a digital kitchen scale makes it easy to convert to metric.
“Baking is a science, and precision matters!” – Disney Pastry Chef
Temperature Conversion Chart
| Fahrenheit (°F) | Celsius (°C) | Baking Purpose |
|---|---|---|
| 325°F | 163°C | Gentle Baking |
| 350°F | 177°C | Standard Cookies |
| 375°F | 190°C | Crisp Edges |
Pro tip: Use the formula °C = (°F – 32) × 5/9 for quick metric conversions when developing your Disney-inspired chocolate chip cookie recipe.
Premium Ingredients Selection Guide
Making the perfect Disney chocolate chip cookie begins with choosing top-notch baking ingredients. These ingredients can turn a simple cookie into a magical treat, just like the ones at Disney parks.
Choosing the right chocolate chips is key. Professional bakers know that using the best ingredients makes a big difference in taste and texture.
- Butter Selection: Pick unsalted butter with at least 82% butterfat
- Sugar Blend: Mix granulated and light brown sugar for a richer flavor
- Chocolate Chips: Go for semi-sweet varieties with 60-70% cocoa content
Choosing the right chocolate chips is very important. Bakers suggest using high-quality chocolate chips that melt well and taste great. Brands like Ghirardelli or Guittard are top choices for their flavor.
“The secret to extraordinary cookies lies in extraordinary ingredients” – Disney Pastry Chef
To get the best results, use fresh ingredients. Make sure your eggs are at room temperature, use pure vanilla extract, and measure your flour carefully. This will help your cookies taste like they’re straight from Disney.
| Ingredient | Quality Recommendation |
|---|---|
| Butter | High-fat European-style unsalted |
| Chocolate Chips | 60-70% cocoa semi-sweet |
| Vanilla Extract | Pure Madagascar bourbon vanilla |
Remember, the quality of your ingredients is what makes your chocolate chip cookies truly special. They’ll impress everyone you share them with.
Step-by-Step Mixing Instructions
Creating delicious chocolate chip cookies is all about precision and understanding baking techniques. The key to success lies in how you mix and combine ingredients.
Creaming Method Explained
The creaming method makes cookies light and fluffy. Start by softening 200 grams of unsalted butter at room temperature. Use an electric mixer to beat the butter with 150 grams of brown sugar and 100 grams of granulated sugar until it’s pale and creamy.
- Beat butter and sugars for 3-4 minutes
- Scrape down mixer sides periodically
- Look for a light, fluffy texture
Proper Ingredient Integration
Add your eggs one at a time, mixing well after each. Pour in 5 ml of vanilla extract and blend until it’s fully mixed. This step ensures your cookie dough is smooth and even.
| Ingredient | Weight/Volume | Mixing Technique |
|---|---|---|
| Unsalted Butter | 200g | Soften at room temperature |
| Brown Sugar | 150g | Cream with butter until fluffy |
| Granulated Sugar | 100g | Mix thoroughly |
| Eggs | 120g (2 large) | Add one at a time |
Dough Consistency Tips
Slowly add 300 grams of all-purpose flour mixed with 5 grams of baking soda and 2 grams of salt. Use a gentle folding technique to avoid overmixing. Then, fold in 300 grams of semi-sweet chocolate chips for even distribution.
“The secret to perfect cookies is in the gentle touch and precise measurements.” – Disney Baking Experts
For the best results, chill your cookie dough for at least 30 minutes before baking. This step allows flavors to meld and prevents excessive spreading during baking.
Mastering the Perfect Cookie Shape and Size

Making uniform cookies is an art that needs precision and practice. Professional bakers know that the right cookie shaping techniques are key. They aim to make cookies that taste great and look perfect.
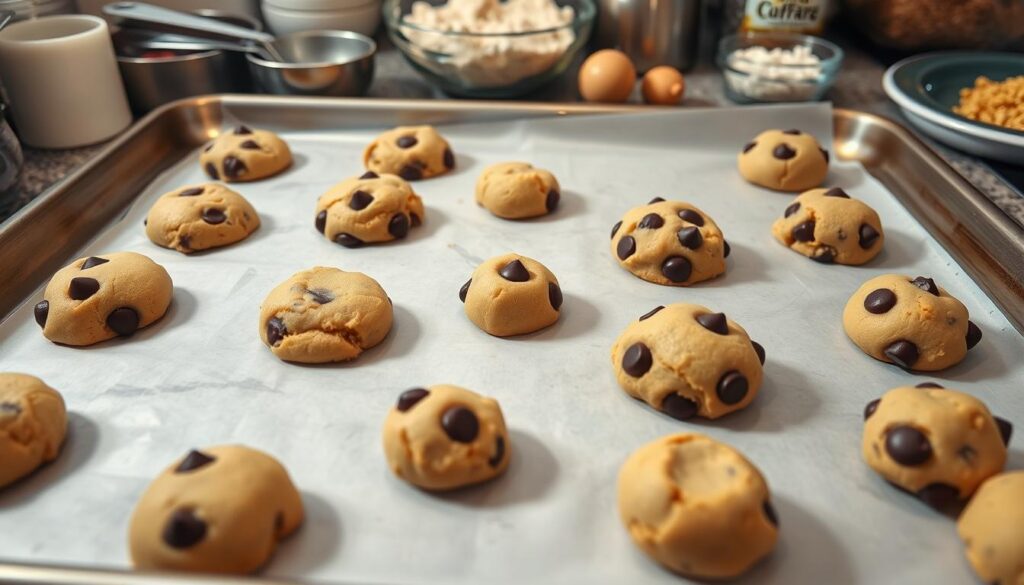
Getting uniform cookies starts with the right tools and methods. A professional cookie scoop is essential for making treats of the same size. These scoops help your cookies look like they came from a bakery.
- Use a 45g (3 tablespoon) portion for each cookie
- Select a high-quality stainless steel cookie scoop
- Maintain consistent pressure when portioning dough
- Space cookies 5cm apart on baking sheets
If you want a more rustic look, flatten your dough balls before baking. This method lets cookies spread naturally but keeps their size and shape consistent.
“Perfection in baking is about consistency and attention to detail.” – Disney Pastry Chef
Professional bakers suggest practicing your cookie shaping to get better. Each scoop should feel natural and controlled. This ensures your cookies are all the same size and shape.
| Dough Portion | Recommended Tool | Spacing Guideline |
|---|---|---|
| 45g (3 tablespoons) | Stainless Steel Cookie Scoop | 5cm between cookies |
| Gentle Flattening | Clean Palm or Spatula | Maintain Uniform Thickness |
Baking Temperature and Timing Secrets
To make the perfect chocolate chip cookie, you need to get the oven temperature right and know how long to bake. These two things can take your baking from good to amazing.
Professional bakers say that controlling the oven temperature is the key to making delicious cookies. How well your oven works can affect your cookies a lot.
Oven Positioning Guidelines
Putting your oven in the right spot helps cookies bake evenly. Here are some tips:
- Put the baking rack in the center of the oven
- Keep a steady distance from the heating elements
- Turn the baking sheets halfway through baking
- Use light-colored baking sheets to reflect heat better
Visual Doneness Indicators
Knowing when to take your cookies out needs your attention. Look for these signs:
- Edges should be golden brown
- Centers should look a bit undercooked
- The surface should be set but not too dry
- There should be slight cracks around the edges
“The difference between a good cookie and a great cookie is often just 60 seconds in the oven.” – Disney Pastry Chef
Getting the temperature right is crucial: set your oven to exactly 175°C (350°F). Let cookies cool on the baking sheet for 5-10 minutes after taking them out. This helps them finish cooking.
Storage and Freshness Techniques
To keep your homemade Disney chocolate chip cookies fresh, follow some key storage tips. The first step is to pick the right container and learn how to preserve them best.

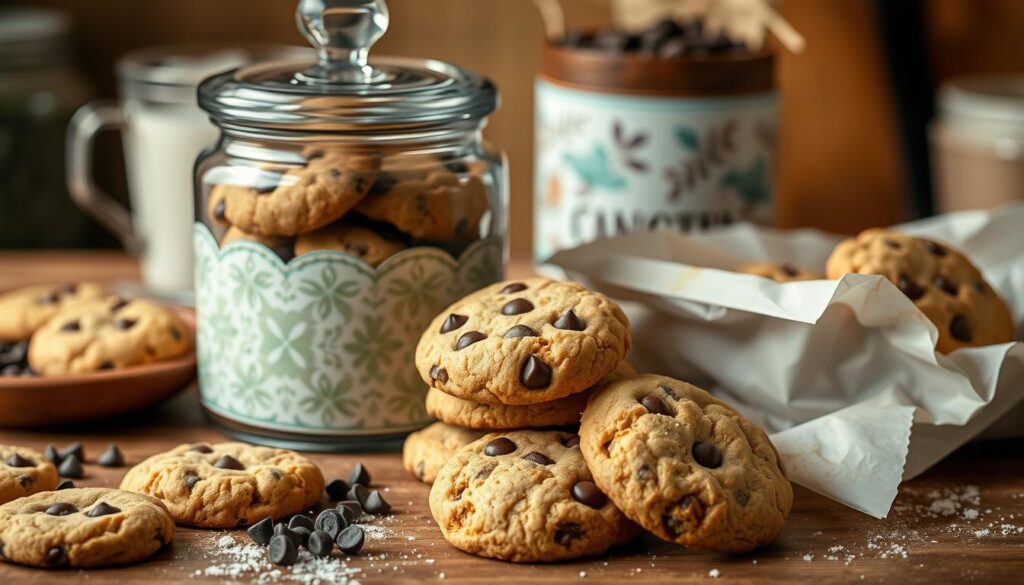
Look for an airtight container that keeps out moisture and air. Good choices include:
- Ceramic cookie jars with tight-fitting lids
- Glass containers with rubber seal edges
- Metal tins with secure closures
When storing, layer cookies carefully to avoid breakage. Use parchment paper between layers to soak up moisture and stop sticking. This keeps the cookies soft and prevents them from getting soggy.
“The secret to perfect cookie storage is protecting them from air and moisture while maintaining their original texture.” – Disney Bakery Expert
You have several ways to store your cookies:
- Room temperature storage: Up to 5 days in an airtight container
- Refrigerator storage: 7-10 days in a sealed container
- Freezer storage: 1-3 months when properly wrapped
Freezing tip: Wrap each cookie in plastic wrap before freezing. Thaw at room temperature for the best taste and texture.
For the best flavor, don’t mix different cookie flavors in the same container. They can swap scents and change each other’s taste.
Troubleshooting Common Baking Issues
Dealing with cookie baking problems can be really frustrating. But, with the right techniques, you can fix these issues and make perfect chocolate chip cookies every time.
Cookie spreading is a common problem for home bakers. If your cookies spread too much, here are some things to check:
- Butter temperature: Make sure butter is slightly cool, not melted
- Overmixing: Mix ingredients just until they’re combined
- Refrigerate dough for 30-60 minutes before baking
If cookies aren’t spreading enough, try these strategies:
- Measure flour precisely using weight measurements
- Check baking soda or powder freshness
- Slightly flatten cookie dough before baking
“Precision is the secret to perfect cookies” – Professional Baker’s Wisdom
Oven-related cookie baking problems can be fixed by:
- Using an oven thermometer to check accurate temperature
- Rotating baking sheets midway through cooking
- Placing cookies in the center rack for even heat
Texture issues often come from ingredient ratios. Careful measurement and quality ingredients are key for consistent results.
By understanding these common cookie baking problems and using strategic fixes, you’ll improve your baking skills. You’ll make delicious, picture-perfect chocolate chip cookies every time.
Variations and Dietary Adaptations
Exploring different cookie types lets everyone enjoy tasty treats that fit their dietary needs. Allergy-friendly cookies are now more popular. They offer great options for those with special diets.
Creating cookies for everyone means knowing about different diets. It’s about finding tasty and textured solutions that meet everyone’s needs.
Gluten-Free Cookie Options
Gluten-free baking needs careful choice of ingredients. Here are some tips:
- Use gluten-free flour blends
- Choose xanthan gum as a binder
- Make sure ingredients are gluten-free certified
Vegan Cookie Modifications
Turning regular cookies into vegan ones requires smart swaps:
- Replace butter with coconut oil or vegan margarine
- Use flax eggs or aquafaba instead of eggs
- Pick dairy-free chocolate chips
Nut-Free Alternatives
Creating nut-free cookies needs precision and knowledge:
- Avoid all nut-based ingredients
- Check if ingredients are made in nut-free facilities
- Try seed-based options like sunflower seeds
“Inclusive baking means everyone gets to enjoy a delicious cookie!” – Disney Pastry Chef
With these tips, you can make wonderful cookies for all. They’ll be full of flavor and quality, no matter the dietary need.
Conclusion
Making homemade Disney cookies is more than a recipe. It’s about bringing magic into your kitchen. By using precise measurements, you get perfect cookies that taste like Disney’s.
This guide shows you how to turn simple ingredients into amazing chocolate chip cookies. Every gram and temperature matters for that Disney park taste. Baking fans love this.
Your baking journey is just starting. With practice, you’ll get better at making these cookies. You can make them soft or crispy, and always get great results.
Baking is all about love and precision. Follow the measurements and enjoy making Disney magic at home. Your loved ones will love the cookies as much as you do.
FAQ
Why are metric measurements important for baking Disney-style chocolate chip cookies?
Metric measurements help you get the right mix of ingredients. This ensures your cookies taste great and look just right. Using weight instead of volume is especially important for things like flour and sugar.
How big should I make each cookie to match the Disney park style?
Aim for cookies that are about 45g (3 tablespoons) each. This size is big, just like the ones in Disney parks. Use a cookie scoop or spoon to make sure each cookie is the same size.
Can I make these cookies gluten-free or vegan?
Yes! For gluten-free cookies, use a special flour blend. For vegan cookies, swap butter for plant-based options and use egg replacers. This way, you can enjoy the cookies while sticking to your diet.
How long can I store these chocolate chip cookies?
Keep cookies in airtight containers at room temperature for up to 4 days. If you want to keep them longer, freeze them for 2-3 months. Or, freeze the dough and bake fresh cookies whenever you want.
What are the most common baking mistakes to avoid?
Avoid cookies that spread too much or not enough. This can happen if your butter is too warm or you mix too much. Make sure your ingredients are at the right temperature and your dough is the right size.
What type of chocolate chips should I use?
Go for semi-sweet chocolate chips with at least 60% cocoa. This will make your cookies taste amazing. High-quality chocolate is key to getting that Disney-style flavor.
Do I need special equipment to make these cookies?
Yes, you’ll need a digital kitchen scale, metric measuring cups and spoons, a mixer, baking sheets, and parchment paper. These tools help you get the best results and make your cookies just like the ones in Disney parks.
How do I know when the cookies are perfectly baked?
Look for golden brown edges and centers that look a bit undercooked. Bake at 180°C (350°F) for 10-12 minutes, flipping the sheet halfway. Let them cool on the sheet for 5 minutes before moving them to a wire rack.


1 thought on “Disney Chocolate Chip Cookie Recipe: Metric Measurements for Perfect Baking”