I love pastry, especially the flaky, buttery Swiss gipfeli. As a kid, the smell of these crescent pastries from the bakery was irresistible. Now, I’m excited to teach you how to make gipfeli at home. It’s like bringing a piece of Switzerland into your kitchen.
Table of Contents
Introduction to Swiss Gipfeli: A Beloved Breakfast Delicacy
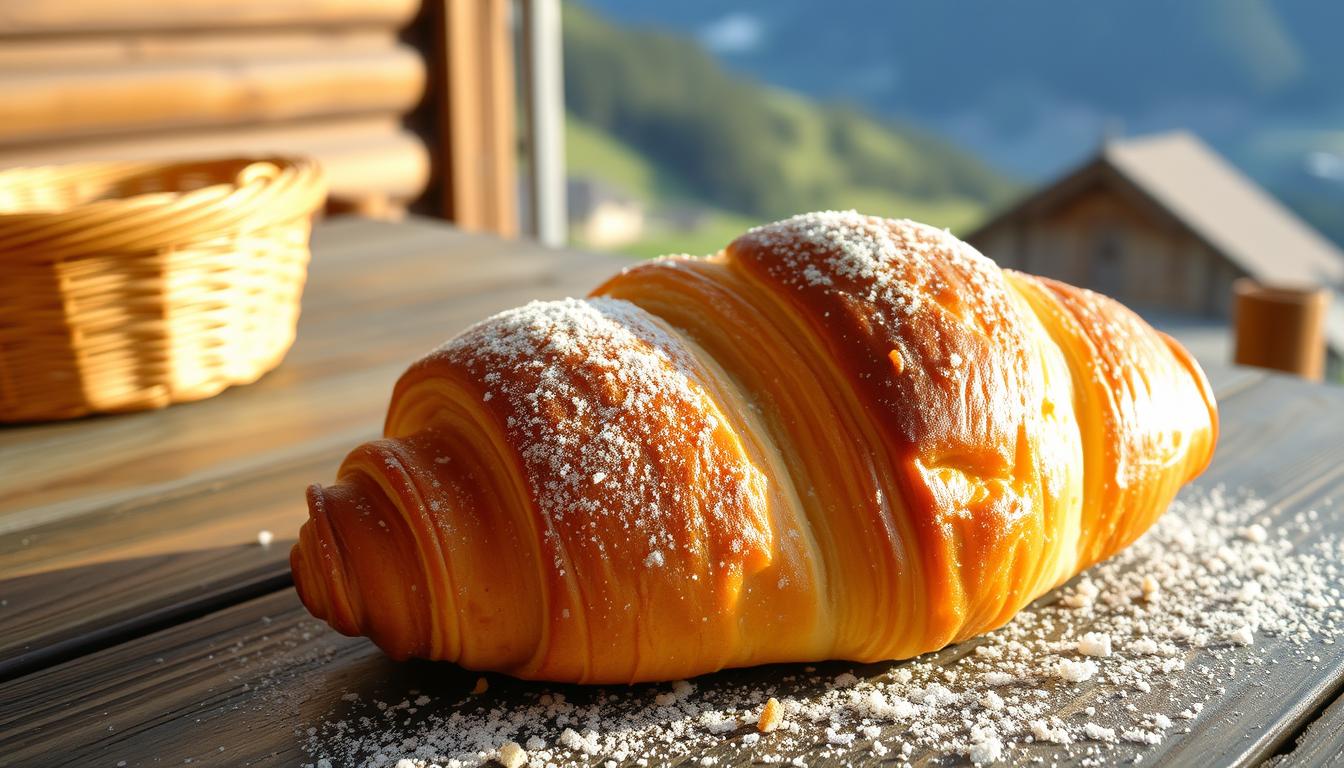
Step into the Swiss countryside, where the smell of traditional swiss gipfeli recipe fills the air. It invites you to enjoy a classic breakfast tradition. These flaky, buttery pastries are more than just food. They are a big part of Swiss culture and history.
Origins and Cultural Significance
The story of swiss croissants starts in the 17th century. Swiss bakers were inspired by Vienna’s crescent-shaped pastries. They celebrated Vienna’s win over the Ottoman forces. Over time, Swiss bakers made their own version, creating the authentic swiss breakfast recipes we love today.
Difference Between Gipfeli and French Croissants
While swiss croissants and French croissants look similar, they are different. Gipfeli are smaller, crisper, and taste more of butter. This shows Swiss bakers’ focus on quality and detail.
Why Swiss Gipfeli Are Special
Traditional swiss gipfeli recipe are special in Swiss food culture. They are a big part of the Swiss morning. Enjoying a Gipfeli with coffee or hot chocolate is more than eating. It’s a moment of connection and tradition that unites the Swiss community.
“The magic of Gipfeli lies in the way basic ingredients such as flour, butter, milk, yeast, sugar, and salt come together to create the delicate pastry.”
Essential Ingredients for Perfect Swiss Pastries
Making authentic Swiss pastries, like homemade gipfeli, needs the right ingredients. The core is butter pastry ingredients. They create the flaky, golden-brown delight.
For the best Swiss gipfeli, use top-notch, unsalted European-style butter with high fat content. This butter is key for the layers and flavor. Mix it with all-purpose flour, yeast, sugar, and salt. Together, they make the dough for the ultimate breakfast treat.
Some bakers add extras like almond paste for Mandelgipfeli or Nutella for Nussgipfel. These add-ins bring a personal touch to the traditional Swiss pastry recipe.
Getting the ingredients right and handling them carefully is crucial. The balance of butter pastry ingredients and yeast activation are key. They ensure the flaky texture and true flavor of the Swiss gipfeli.
“The secret to the perfect Swiss gipfeli lies in the quality of the ingredients and the attention to detail in the preparation process.”
With the right swiss pastries ingredients, you’re ready to make irresistible, homemade gipfeli. They’ll take you straight to Switzerland’s heart.
Kitchen Tools and Equipment You’ll Need
Making delicious Swiss gipfeli at home needs the right tools and equipment. You’ll need both essential and optional items. The right kitchenware is key to getting flaky, golden-brown gipfeli.
Must-Have Baking Tools
- Large mixing bowl: For kneading and proofing the dough
- Rolling pin: To evenly roll out the laminated dough
- Sharp knife or pastry cutter: For cutting and shaping the gipfeli
- Baking sheets: For baking the gipfeli to golden-brown perfection
- Parchment paper: To line the baking sheets and prevent sticking
Optional but Helpful Equipment
While the basics are a must, some extra tools can make baking gipfeli better:
- Stand mixer with a dough hook: For effortless kneading and dough preparation
- Pastry brush: For applying an even egg wash to the gipfeli before baking
Measuring and Preparation Tools
Accurate measurements are key for Swiss gipfeli. Make sure you have these tools:
- Kitchen scales: For accurately measuring ingredients by weight
- Measuring cups and spoons: For precise volume-based measurements
With these baking tools, pastry equipment, and gipfeli baking essentials, you’re ready to make authentic Swiss gipfeli at home.
Mastering the Gipfeli Recipe
Making the perfect Swiss gipfeli is all about technique and precision. You need to create the yeasted dough and laminate the layers just right. This makes the pastry flaky and buttery, a true delight. Let’s explore how to master the gipfeli recipe and bake these Swiss treats at home.
The gipfeli recipe takes 6-8 hours to complete, with 1-2 hours of active work. The main steps are:
- Start with a yeasted dough made from flour, warm milk, butter, sugar, salt, and yeast.
- Let the dough rise in a warm spot for about 1 hour, until it doubles.
- Roll the dough into a rectangle, fold it in thirds, and chill it for 30 minutes.
- Roll and fold the dough three times to get the flaky layers.
- Shape the dough into triangles and form crescent shapes.
- Let the shaped gipfeli proof for 30 minutes before baking.
- Bake them in a 375°F oven for 15-20 minutes, until golden and flaky.
Every step in making Swiss gipfeli is important for the right texture and taste. With practice and patience, you’ll get the hang of homemade gipfeli. You’ll love the flaky, buttery taste.
“The secret to perfect gipfeli lies in the delicate dance of dough and butter, where each layer is carefully crafted to achieve that coveted flaky texture.”
The swiss pastry techniques in the gipfeli recipe are about the journey, not just the end. So, enjoy the process, improve your skills, and savor the homemade gipfeli perfection.
The Art of Dough Preparation
Making the perfect gipfeli dough is key to getting the flaky layers and soft texture of Swiss pastry. The dough is made with flour, yeast, salt, warm milk, and a bit of sugar. Kneading the dough is important to make it light and airy.
Creating the Perfect Base Dough
For a great gipfeli dough, choose the right ingredients carefully. Use a flour that’s not too hard but not too soft either. European-style butter with 82% fat is needed for the rich layers. Also, active yeast, a bit of salt, and sugar are important for the dough’s flavor.
Kneading Techniques
Kneading the gipfeli dough for 10 minutes is where the magic happens. It makes the dough smooth and elastic. This step is vital for the pastry’s texture, so knead it carefully.
Initial Proofing Process
After kneading, let the gipfeli dough rest for 1-2 hours in a warm place. This lets the yeast make the dough rise and get more flavorful. Skipping this step can ruin the pastry’s light and airy texture.
Lamination Techniques for Flaky Layers
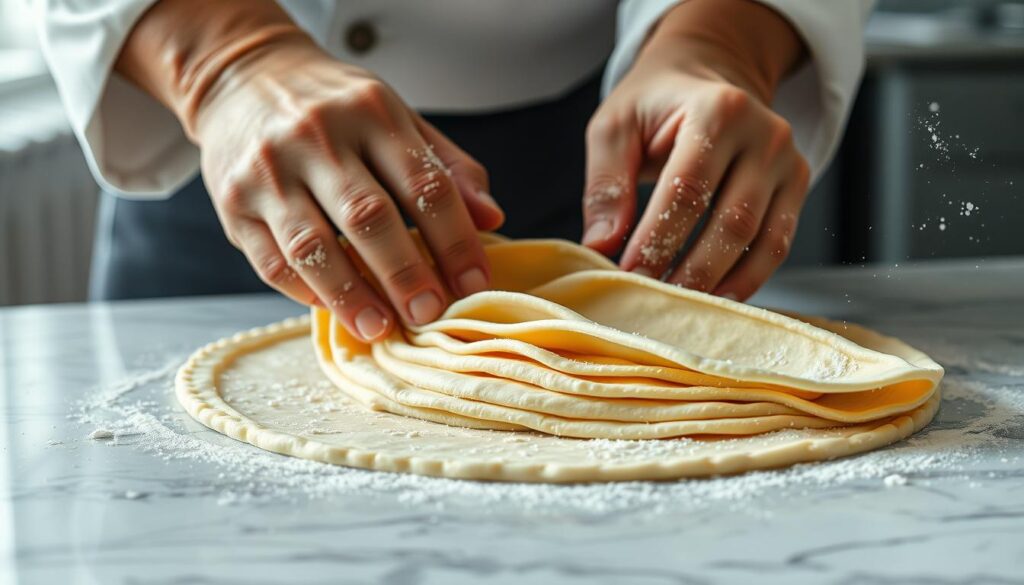
Creating flaky layers in Swiss gipfeli starts with pastry lamination. This method folds and rolls butter into the dough. It makes a beautiful, buttery strata that puffs up when baked.
The “letter-fold” method is key to lamination. Roll the dough into a rectangle, then fold it in thirds. Repeat this three times, chilling the dough between folds. This makes gipfeli flaky and delicious.
- Traditional puff pastry dough can go through a series of 6 “turns” to create 729 layers within the dough or 7 turns to achieve 2,187 layers, highlighting the meticulous process involved in creating the flaky layers.
- Croissant dough typically only goes through a series of 3 turns, resulting in larger and more distinct layers compared to puff pastry, showcasing variations in the lamination process for different types of laminated dough.
- Quick puff pastry, a simplified version of traditional puff pastry, yields slightly less flakiness but remains impressive and delicious, emphasizing the trade-offs between time efficiency and texture in lamination techniques.
The dough and butter temperatures are important. The butter should be between 52 to 61°F (11 to 16°C). The dough should be slightly cooler, between 36 to 43°F (2 to 6°C). This keeps the butter pliable and the layers distinct.

With patience and practice, you can make flaky gipfeli at home. It’s a Swiss treat that’s sure to impress.
Shaping Your Swiss Gipfeli
Learning to shape your Swiss gipfeli is crucial. It helps you get the iconic crescent shape and flaky texture. Follow these steps to make perfect gipfeli every time.
Step-by-Step Rolling Guide
Start by rolling the dough into a large rectangle, about 5mm thick. Use a sharp knife or pastry wheel to cut it into long, narrow triangles. Roll each triangle from the wide base to the pointed tip, keeping it tight but not too hard.
Creating the Classic Crescent Shape
- Curve the ends of the rolled triangle slightly to form the classic crescent shape.
- Ensure the pointed tip of the crescent is tucked underneath to prevent unrolling during baking.
- This shaping technique helps the gipfeli maintain its shape and achieve the signature flaky layers during the baking process.
Proper shaping is key for even baking and the iconic look of Swiss gipfeli. With practice, you’ll make professional-looking pastries that will wow your family and friends.
| Preparation Time | Baking Time | Total Time | Servings |
|---|---|---|---|
| 2-2.5 hours | 15-18 minutes | 3 hours 5 minutes | 16 gipfeli |
Proofing and Baking Guidelines
To make the perfect Swiss gipfeli, focus on the proofing and baking steps. First, shape your pastries carefully. Then, let them proof and bake until they’re golden.
Start by letting your gipfeli proof for 1 to 2 hours at room temperature. The dough will almost double in size. This is because the yeast is working and the butter and dough layers are expanding. This step is crucial for a beautiful rise in the oven.
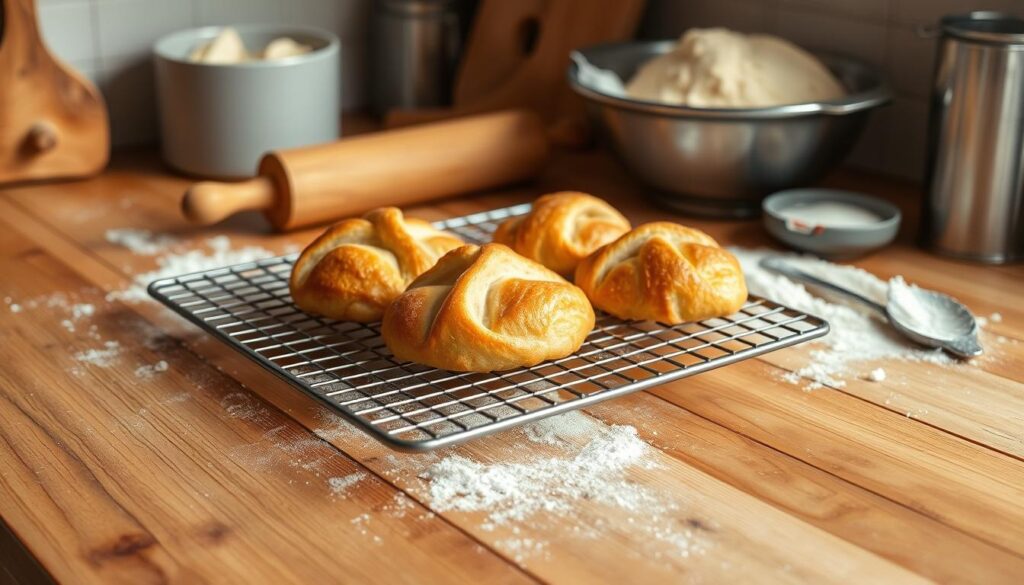
After proofing, heat your oven to 400°F (200°C). Brush the pastries with an egg wash for a shiny, golden look. Then, bake them in the oven for 15 to 20 minutes. Halfway through, rotate the baking sheet for even browning.
Watch your gipfeli closely while they bake. They’re done when they’re deep golden and smell amazing. Proper proofing and baking are essential for the flaky, Swiss pastry techniques that make these gipfeli so delicious.
| Metric | Value |
|---|---|
| Proofing Time | 1-2 hours |
| Baking Temperature | 400°F (200°C) |
| Baking Time | 15-20 minutes |
“Proper gipfeli proofing and baking are the keys to achieving the perfect flaky texture and golden-brown color.”
Tips for Achieving Golden-Brown Perfection
Baking gipfeli, the beloved Swiss pastries, to perfection requires precise temperature control and keen attention to timing. To ensure your gipfeli emerge with a crisp, golden-brown exterior and a soft, flaky interior, follow these essential tips:
Temperature Control
Maintaining a consistent oven temperature is crucial for even baking. Preheat your oven to 400°F (200°C) and use a reliable oven thermometer to monitor the temperature. This will help you maintain the ideal range of 350°F to 400°F (175°C to 200°C) throughout the baking process.
Timing Considerations
Bake your gipfeli for 15 to 20 minutes, keeping a close eye on them to prevent burning. The key is to strike the right balance between a deep golden-brown color and a fragrant aroma, which are telltale signs of perfectly baked pastries. Rotate the baking sheet halfway through the baking time to ensure uniform browning on all sides.
Visual Cues for Doneness
As the gipfeli bake, watch for the telltale signs of doneness. The pastries should develop a rich, golden-brown hue, with a crisp, shiny crust. Avoid the temptation to open the oven door too frequently, as this can disrupt the baking process and cause uneven results.
By following these gipfeli baking tips, you’ll master the art of achieving golden pastry techniques and ensure your pastry doneness is just right. This will create delectable Swiss delights that will impress your family and friends.

Storage and Reheating Methods
Keeping your homemade Swiss gipfeli pastries fresh is key. Follow these tips to enjoy your gipfeli perfectly.
Storing Baked Gipfeli
Store baked gipfeli in an airtight container at room temperature. They stay fresh for up to 2 days. For longer storage, freeze them for up to a month.
Reheating Gipfeli
To warm up your gipfeli, preheat your oven to 350°F (175°C). Place them on a baking sheet and warm in the oven for 5-7 minutes. They’ll be warm and crisp.
Freezing Unbaked Gipfeli
You can also freeze unbaked gipfeli. Lay them flat on a baking sheet and freeze. Then, move them to a freezer-safe bag or container. Bake frozen gipfeli in a preheated oven, adding a few extra minutes.
Proper storage and reheating keep your gipfeli fresh and delicious. Enjoy the taste of Switzerland anytime.
Serving Suggestions and Pairings
Swiss gipfeli taste best when they’re warm, right out of the oven. For a traditional Swiss breakfast, pair them with a hot cup of coffee, chocolate, or fresh juice. The buttery, flaky pastry goes well with these rich flavors.
For a more filling breakfast, try the gipfeli with creamy yogurt and fresh berries. This mix of textures and tastes makes for a complete and enjoyable breakfast.
For a lighter choice, enjoy the gipfeli on its own or with a bit of jam, honey, or butter. These simple pairings let the pastry’s buttery taste shine.
Want to make your gipfeli more substantial? Slice the pastry in half and fill it with ham, cheese, or a fried egg. This turns your breakfast into a satisfying, portable meal.
However you serve your gipfeli, make sure to enjoy them fresh. Serve the warm pastries on a pretty platter or a rustic board. This makes for a lovely display that will impress your guests.
“The perfect pairing for a gipfeli is a steaming cup of coffee and the company of loved ones, enjoying the simple pleasures of a Swiss breakfast tradition.”
Conclusion
Learning to make homemade Swiss gipfeli lets you dive into Swiss baking tradition. It might take time, but the flaky, buttery pastries are worth it. You can get creative with fillings and toppings, making these flaky breakfast pastries your own.
Homemade gipfeli bring Swiss culinary culture to your kitchen. They’re great for special breakfasts or sharing with family. With practice, you can make gipfeli as good as those from Swiss bakeries. Enjoy the buttery layers and soft dough that’s part of the Swiss baking tradition.
Whether you’re an experienced baker or new to Swiss pastries, learning to make gipfeli is a fun journey. It adds Swiss charm to your breakfast table and expands your cooking skills.
FAQ
What are Swiss gipfeli?
Swiss gipfeli are tasty breakfast treats. They have flaky layers and a rich buttery flavor. They are smaller and crisper than French croissants.
What are the key ingredients for making authentic Swiss gipfeli?
To make Swiss gipfeli, you need high-quality unsalted European-style butter. Also, all-purpose flour, active dry yeast, sugar, and salt are essential. The butter is key for the flaky layers.
What tools and equipment are needed to make gipfeli at home?
You’ll need a large mixing bowl, a rolling pin, and a sharp knife or pastry cutter. Baking sheets and parchment paper are also necessary. A stand mixer and pastry brush are optional. Accurate measuring tools are crucial.
What is the process for making gipfeli?
First, you make a yeasted dough. Then, you laminate it with butter through folds. After that, shape the dough into crescents. Proper proofing and baking are key for the flaky texture and golden color.
How long does it take to make gipfeli from start to finish?
Making gipfeli takes 6-8 hours. This includes 1-2 hours of active work. You’ll need time for dough preparation, lamination, shaping, proofing, and baking.
How should gipfeli be stored and reheated?
Store baked gipfeli in an airtight container at room temperature for up to 2 days. Freeze for up to a month. To reheat, warm in a preheated oven at 350°F (175°C) for 5-7 minutes. Unbaked gipfeli can be frozen and baked directly with extra time.
How are gipfeli typically served and paired?
Serve gipfeli warm. Enjoy them plain or with toppings like jam, honey, or butter. They go well with coffee, hot chocolate, or fruit juice for a Swiss breakfast.

