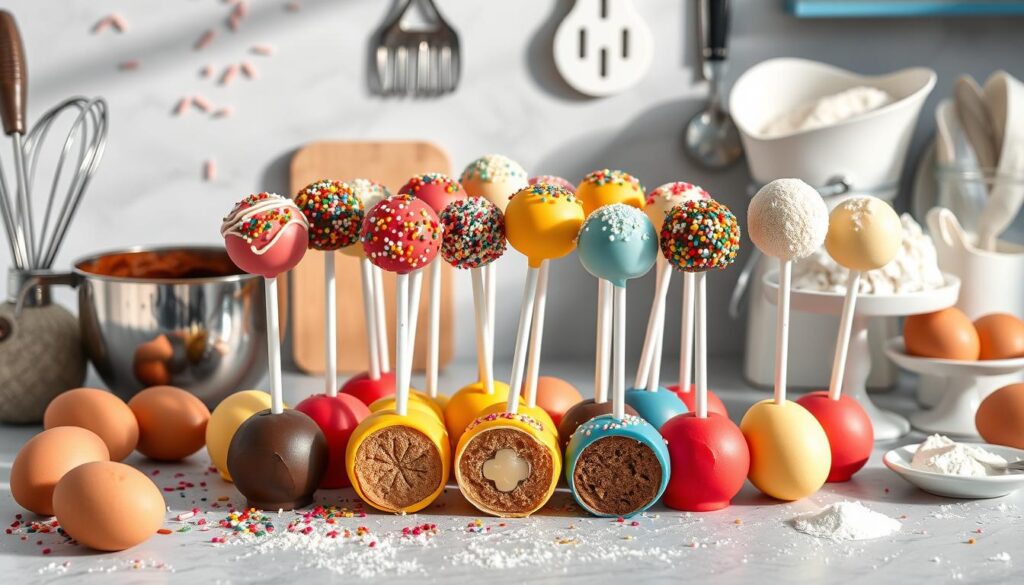
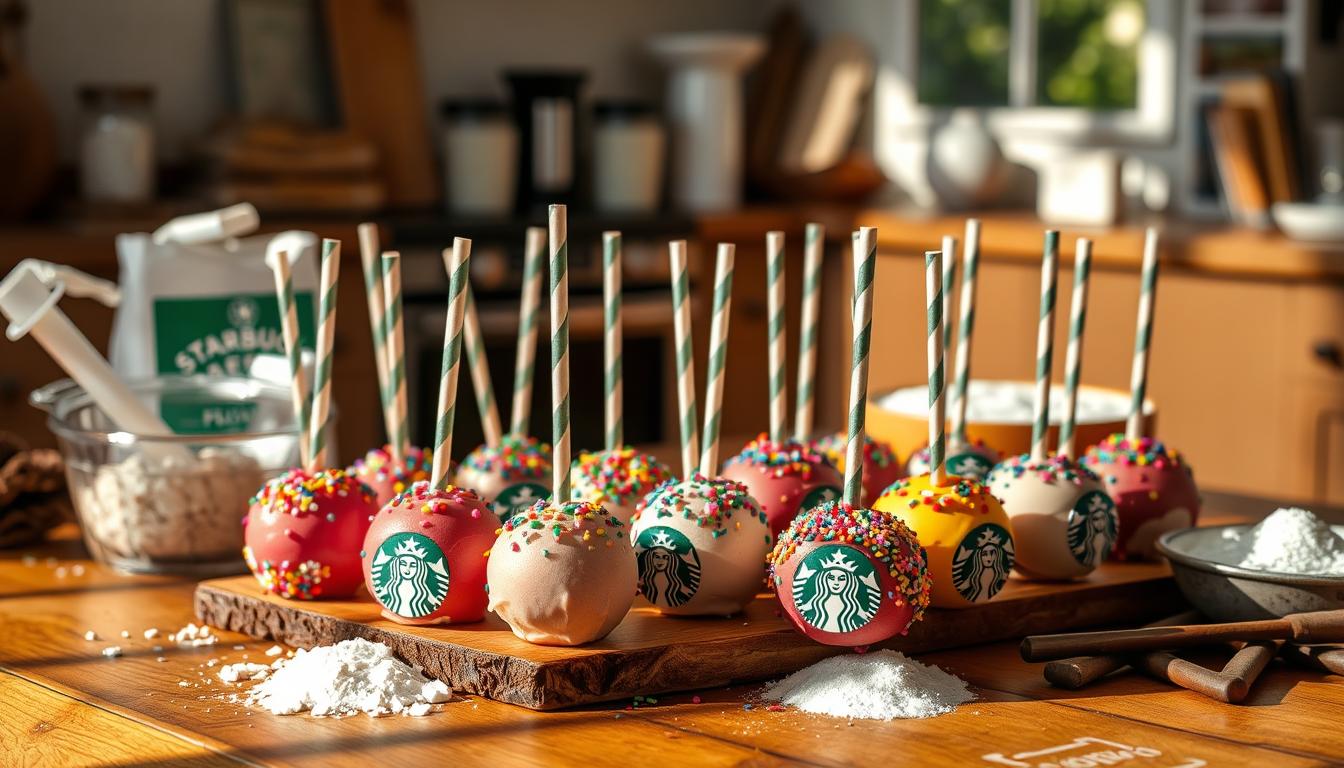
I love desserts, and Starbucks’ cake pops are my favorite. They mix moist cake with a tasty candy coating. This combo makes them a hit in coffee shops and bakeries everywhere. But, you can make these treats at home for less money. It’s time to get creative and make your own sweet treats.
Table of Contents
Understanding the Magic of Starbucks Cake Pops
Starbucks cake pops have won the hearts of dessert lovers everywhere. These small treats are loved for their texture and flavors. But what makes them so unique?
Why These Treats Are So Popular
Starbucks cake pops are loved for their size, texture, and look. They were introduced in the late 2000s and quickly became famous. Their soft centers and smooth candy coating make them irresistible.
Their small size and appealing look have made them a hit. This has helped them become very popular.
Cost Comparison: Store-bought vs Homemade
Starbucks cake pops are tasty but can be pricey. Each pop costs $3, which can add up. But, making them at home is much cheaper.
Homemade cake pops cost only $8 for 24, which is $0.35 each. This is a lot cheaper than buying them.
What Makes Them Special
The magic of Starbucks cake pops is in their mix of soft cake and smooth candy coating. You need simple ingredients like cake mix, frosting, and chocolate or candy melts. This makes it easy to try different flavors and designs.
You can make them for any occasion, from birthdays to weddings. This versatility is what makes them special.
Whether you love Starbucks or making desserts at home, cake pops are worth trying. They can be a fun and tasty project to do at home.
Essential Ingredients for Perfect Cake Pops
Making tasty cake pops at home needs a few important ingredients. Start with a box of vanilla cake mix as the base. It gives the cake pops a fluffy, moist texture.
Next, add a generous scoop of French vanilla frosting to mix with the crumbled cake. For a Starbucks look, use pink candy melts to coat the pops. Finish with a sprinkle of white sprinkles.
For a chocolate flavor, use chocolate cake mix and add cocoa powder to the frosting. Soft, frosted cookies can also be used as a base with full-fat cream cheese for a creamier taste.
Regardless of the base, the key ingredients for a perfect Starbucks cake pop are the cake, frosting, candy coating, and presentation sticks. With these, you can make professional-quality cake pops at home.
| Ingredient | Quantity |
|---|---|
| Vanilla Cake Mix | 1 box (about 15.25 ounces) |
| Vanilla Frosting | 1/3 cup |
| Powdered Sugar | 1/4 cup |
| Vanilla Extract | 1 teaspoon |
| Light Pink Candy Melts | 2 cups |
| Lollipop Sticks | 20-24 sticks |
Required Tools and Equipment
Making perfect cake pops at home needs a few key tools and equipment. You can make great cake pops with basic kitchen items. But, using specialty tools can make your cake pops better and easier to make.
Basic Kitchen Tools
- Mixing bowls
- Hand or stand mixer
- Baking sheet
- Parchment paper
- Measuring cups and spoons
Specialty Items for Professional Results
To improve your cake pop making, get these specialty tools:
- Cake pop sticks
- Microwave-safe bowl for melting candy
- Cooling rack
Alternative Tool Options
If you can’t get all the special tools, there are other options. You can use an upside-down pizza box as a drying rack. Or, a Wilton Candy Melts Melting Pot for easy, mess-free coating.
Getting a cake pop kit is also a smart choice. It usually has a cake pop stand, decorating pen, piping tips, and a meat baller for shaping the cake.
“The right tools can make all the difference in achieving professional-looking cake pops at home.”
Starbucks Cake Pop Recipe: Step-by-Step Instructions
Making your own starbucks cake pops recipe at home is fun and saves money. You only need a few ingredients and basic tools to make cake pop making look like Starbucks. Here’s how to make an easy cake pop recipe step by step.
- Follow the package instructions to prepare the cake mix. Once it’s cool, crumble it into a big bowl.
- Put the vanilla frosting in the bowl with the cake. Mix until it’s all one dough.
- Use a 1 1/4-inch cake pop former or a small cookie scoop to shape the dough into balls. Put them on a parchment-lined baking sheet.
- Freeze the cake balls for 15 minutes to make them firm.
- Melt the pink Wilton candy melts with Crisco shortening in a shallow bowl. Stir until it’s smooth.
- Dip the end of a lollipop stick into the melted coating. Then, insert it into a frozen cake ball, going about halfway through.
- Freeze the cake pops with the sticks for another 15 minutes to set the coating.
- Dip the cake pops into the melted coating, rotating and tapping off any extra. Add sprinkles or toppings right away before it sets.
- Put the coated cake pops in a Styrofoam block or cake pop stand to dry completely.
For a chocolate version, use chocolate cake mix and add a tablespoon of unsweetened cocoa powder to the frosting. The steps are the same, so you can make different starbucks cake pops recipe flavors at home.
“The DIY Starbucks Cake Pop Recipe has garnered over 19.7 million views on social media, showcasing the immense popularity of these sweet treats.”
Mastering the Coating Technique
Getting the perfect candy melt coating is key for stunning cake pops. To get it right, controlling temperature and dipping methods are crucial. Let’s explore how to master the cake pop coating process.
Temperature Control Tips
The candy melts’ temperature is vital for a smooth coat. Keep them between 110-120°F for even coverage. Adding a bit of vegetable oil or shortening can make the melts easier to dip.
Proper Dipping Methods
When dipping cake pops, do it gently. Submerge them in the candy and then pull out slowly. Tap off any extra coating to avoid drips. If the coating is too thick, add oil. If it’s too thin, let it cool a bit before dipping.
Troubleshooting Common Issues
Dealing with candy melt techniques problems is normal. If the coating cracks, the cake pops might have been too cold. Let them warm up before coating. For tough candy melt issues, try using a double boiler or a melting pot for better temperature control.
Mastering cake pop coating will make your treats look professional. Remember, patience and practice are essential. With these tips, you’ll make perfect cake pops every time.
Creative Decorating Ideas and Variations
Get creative and turn your homemade cake pop treats into stunning works of art. There’s more than just the classic Starbucks flavors. Try out different cake pop flavors, frostings, and toppings to make your treats unique and eye-catching.
Begin by experimenting with various cake flavors like red velvet, funfetti, or chocolate. Mix your favorite Starbucks sweet treats to create something new. Pair your cake with frostings like cream cheese or peppermint for a refreshing twist.
- Use vibrant candy melts in seasonal colors for a festive look.
- Add a sprinkle of crushed cookies, drizzled chocolate, or colorful sprinkles for a finishing touch.
- Make themed cake pops for holidays and special events with specific colors and decorations.
- Try gluten-free options by using the right cake mixes for dietary needs.
With a bit of creativity and detail, your homemade cake pops will be the highlight of any event. Be the star of the show with these irresistible and beautiful treats.

| Cake Pop Flavor | Frosting | Toppings |
|---|---|---|
| Red Velvet | Cream Cheese | Crushed Oreos |
| Funfetti | Buttercream | Sprinkles |
| Chocolate | Peppermint | Crushed Candy Canes |
Show off your artistic side with these cake pop decorating ideas. Whether for a special event or just because, these homemade treats will surely impress.
Storage Tips and Shelf Life
Keeping your homemade cake pops fresh is crucial. With a few easy tips, you can enjoy them for days or weeks. This ensures they stay delicious and moist.
Room Temperature Storage
For a short time, store cake pops at room temperature. Use an airtight container with a paper towel lining for up to 3 days. This keeps them from drying out.
Refrigeration Guidelines
For longer storage, refrigerate your cake pops for up to 2 weeks. Use an airtight container with parchment paper or a paper towel between layers. This keeps them fresh and prevents sticking.
Freezing Instructions
To store them long-term, freeze your cake pops for up to 3 months. Wrap each pop in plastic wrap to prevent sticking. Then, store them in a freezer-safe container. Thaw at room temperature for 1-3 hours or in the fridge overnight before serving.
| Storage Method | Shelf Life |
|---|---|
| Room Temperature | 2-3 days |
| Refrigerator | Up to 2 weeks |
| Freezer | Up to 3 months |
“Proper storage is essential for preserving the delicate texture and flavor of homemade cake pops.”
Expert Tips for Professional-Looking Results
Want your homemade cake pops to look like they came from a bakery? Follow these expert tips. The key is in the preparation and details.
First, chill your cake balls well before coating. Chilling them for at least 2 hours in the fridge helps them keep their shape. Make sure they’re all the same size, about 1 ¼ to 1 ¾ inches in diameter.
When you dip the cake pops, tap the stick gently to get rid of extra coating. This makes the finish smooth and without drips. Add decorations like sprinkles or drizzles right away, before the coating hardens. Use a styrofoam block or cake pop stand to dry them evenly.
Keeping the cake and coating at the right temperature is important. The cake should be room temperature for easy rolling. The coating needs to be at the right melting point. If the chocolate gets too hot, it will thicken and be hard to work with.
With practice and these tips, you’ll soon be making cake pops that look like they’re from a pro bakery. Impress your family and friends with your homemade cake pop creations.

| Tip | Benefit |
|---|---|
| Chill cake balls thoroughly before coating | Helps maintain round shape |
| Use a consistent size for uniform cake pops | Ensures even cooking and coating |
| Tap stick gently after dipping to remove excess coating | Creates a smooth, drip-free finish |
| Add decorations immediately after coating | Ensures toppings adhere properly |
| Use a cake pop stand for even drying | Prevents deformation and uneven drying |
| Control temperature of cake mixture and coating | Ensures the best texture and finish |
Common Mistakes to Avoid
Making perfect Starbucks-inspired cake pops at home is fun, but you must avoid common mistakes. These cake pop mistakes, cake pop troubleshooting tips, and cake pop tips will help you make your treats look and taste great.
- Don’t overmix the cake and frosting. This can make them gummy and dense. Just mix until they’re just combined.
- Too much frosting can make the cake pops too sweet and soft. Use the right amount for the best taste.
- Not chilling the cake balls enough can cause them to fall off the stick. Make sure they’re well-chilled and firm before coating.
- Don’t rush the cooling time between steps. This can ruin the cake pops’ structure. Let them set properly.
- Using thick cake pop sticks can cause the balls to crack. Choose thinner, sturdy sticks for better results.
- Double-dipping can lead to an uneven coating and make the pops fall off. Dip each one only once for a smooth finish.
Avoiding these cake pop mistakes will help you make delicious, professional-looking cake pops at home. Follow these cake pop troubleshooting tips and cake pop tips for a fun and easy experience.
Conclusion
Making homemade Starbucks-style cake pops is a fun and affordable way to enjoy these treats. By following the detailed recipe and techniques in this guide, you can make these beloved sweets in your kitchen. It might take some patience and practice, but the end result is worth it. You’ll get delicious, customizable cake pops that are just like the ones from Starbucks.
There are many benefits to making your own homemade starbucks cake pops. You can save a lot of money compared to buying them from Starbucks. Plus, you can try different diy cake pop recipe flavors, colors, and decorations. This lets you make the cake pop benefits fit any occasion or your personal taste.
Whether you’re an experienced baker or just starting out, you can make amazing cake pops at home. With the right tools and a little creativity, you can create professional-looking treats. Enjoy the fun of making these sweet treats and share them with your loved ones.
FAQ
What are the key ingredients needed to make Starbucks-style cake pops at home?
To make Starbucks-style cake pops, you need vanilla cake mix, French vanilla frosting, pink candy melts, and white sprinkles. For chocolate cake pops, use chocolate cake mix and cocoa powder.
What tools and equipment are required for making cake pops?
You’ll need mixing bowls, a mixer, baking sheet, parchment paper, and measuring cups. For a pro look, get cake pop sticks, a microwave-safe bowl, and a cooling rack. A cake pop kit with a stand, pen, tips, and meat baller is also helpful.
Can I use store-bought frosted cookies as a base for cake pops?
Yes, you can use soft frosted cookies from the store. Mix them with full-fat cream cheese for better taste and texture.
How do I achieve a smooth candy coating on the cake pops?
For a smooth coating, make sure candy melts are at the right temperature. Add oil or shortening for better flow. Dip the pops gently and tap off excess. Adjust the coating’s thickness by adding oil or letting it cool.
Can I customize the flavors and decorations of the cake pops?
Absolutely! Try different cake flavors like red velvet or chocolate. Use cream cheese or peppermint frosting. Decorate with various candy melts and toppings like sprinkles or crushed cookies.
How long can homemade cake pops be stored?
Store cake pops in an airtight container at room temperature for 2-3 days. Refrigerate for up to a week. Freeze for up to 3 months, wrapping each pop in plastic wrap.
What are some common mistakes to avoid when making cake pops?
Don’t overmix the cake and frosting. Use the right amount of frosting and chill the cake balls well. Avoid using thick sticks and don’t double-dip to prevent uneven coating and stick issues.

